What smart agent keys do
Smart agent keys represent a shift from passive digital access to active, autonomous property management. In 2026, these tools are no longer just programmable locks that expire at a set time. They are AI-driven interfaces that allow agents to grant, monitor, and revoke access based on real-time context rather than static schedules.
Unlike traditional smart locks that simply unlock a door, smart agent keys integrate with your CRM and calendar to make decisions. An AI agent can verify a buyer's appointment, check their identity through your platform, and grant entry only when the agent is nearby or has explicitly authorized the visit. This reduces the risk of unauthorized entry and eliminates the need for physical key exchanges.
The security layer is equally important. These systems log every interaction, providing a detailed audit trail of who accessed a property and when. For agents managing multiple listings, this means you can oversee access across your entire portfolio from a single dashboard, ensuring that only qualified prospects enter your homes.

Prepare your smart lock hardware
Before an AI agent can manage property access, it needs a physical gateway that speaks the right language. Smart agent keys rely on API access or session key protocols, meaning your hardware must support continuous, secure communication with your automation platform. Choosing the wrong lock now will bottleneck your entire 2026 workflow.
Focus on locks that offer open APIs rather than proprietary walled gardens. You need a device that can accept temporary, time-bound credentials generated by your agent, not just one that opens via a static code. This ensures your AI can grant access to cleaners, inspectors, or potential buyers without your physical involvement.
Choose locks with API and session key support
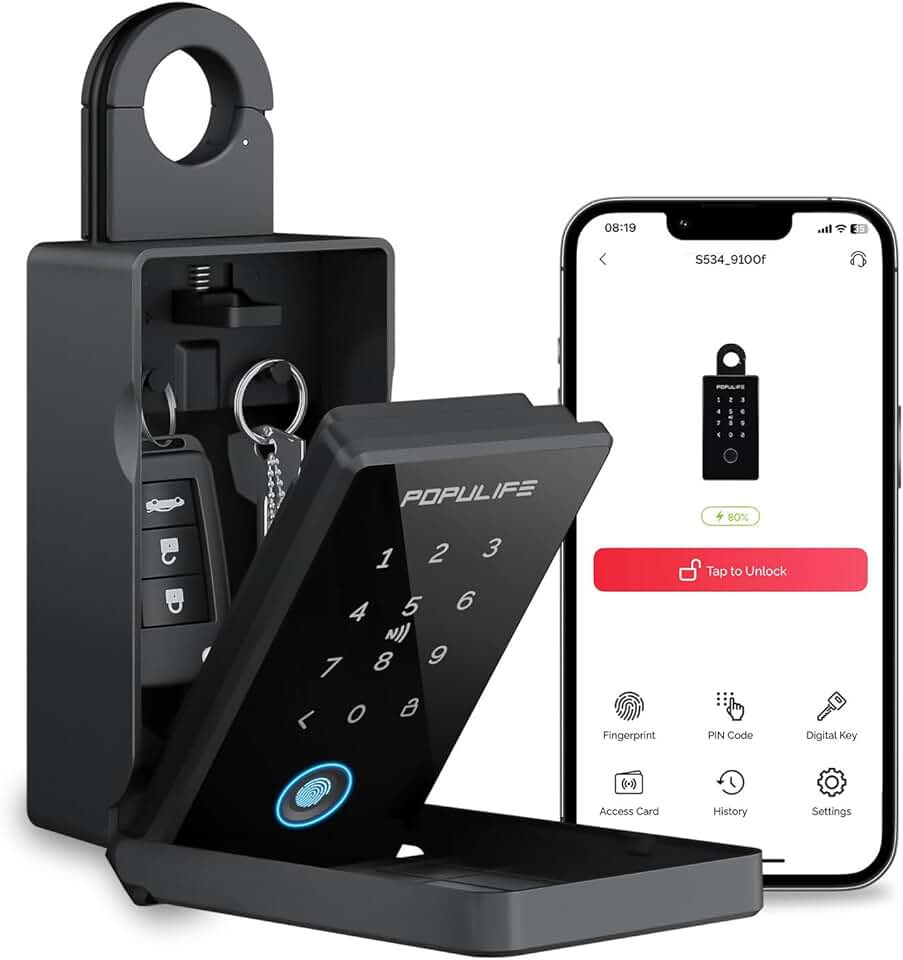
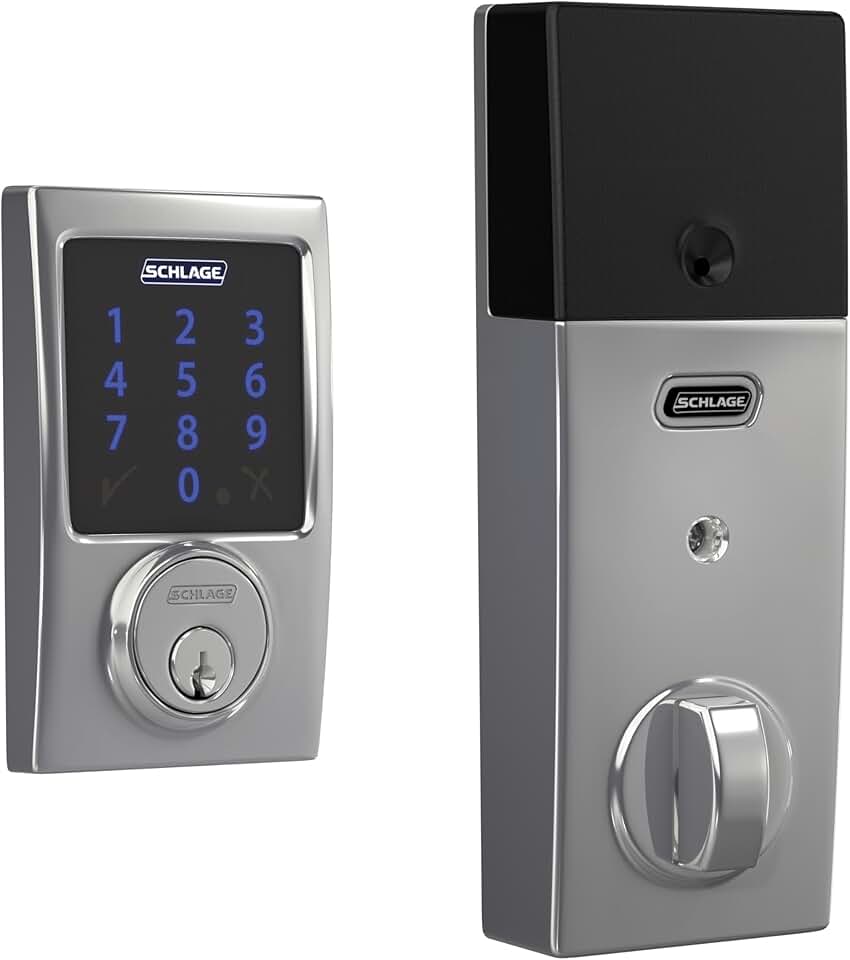
Prioritize hardware from manufacturers like August, Yale, or Schlage that explicitly document API integration for developers. Look for "session key" capabilities, which allow the agent to generate a unique, single-use or time-limited digital key for each entry event. This is the security standard for autonomous property management. Avoid locks that only support Bluetooth proximity, as these cannot be triggered remotely by an AI agent.
Verify Wi-Fi or Hub connectivity
Your smart lock must maintain a constant connection to the internet. Bluetooth-only locks are useless for remote agent control. Ensure your lock connects via Wi-Fi directly or through a dedicated hub (like SmartThings or Home Assistant) that bridges the lock to your cloud-based agent. A stable connection prevents "ghost access" errors where the agent thinks a door is locked when it isn't, or vice versa.
Install and sync the device
Mount the lock on the door following the manufacturer's template. Once installed, pair the lock with your home automation network. During the sync process, locate the API key or authentication token in your lock's developer portal. You will need to input this token into your AI agent's configuration settings to establish the secure handshake between the software and the hardware.
Verify that the lock model supports open API access or session key protocols. Look for developer documentation on the manufacturer's website before purchasing. If the lock only offers a proprietary app with no third-party integration, it will not work with your AI agent.

Remove the old strike plate and deadbolt. Install the new smart lock assembly according to the included template. Ensure the latch aligns perfectly with the door frame to prevent mechanical jams that could confuse the agent's status sensors.

Power on the lock and connect it to your Wi-Fi or hub. Test the physical operation by turning the handle and using the keypad. Confirm the lock reports its status (locked/unlocked) correctly in the manufacturer's app before moving to the agent integration.

Input your API credentials into your AI agent's dashboard. Map the lock to the specific property profile. Run a test command to generate a temporary session key and verify the door unlocks remotely. This confirms your agent has full control.
As an Amazon Associate, we may earn from qualifying purchases.
Configure the AI agent framework
Setting up the AI agent framework is the bridge between raw language models and physical door locks. You are not just writing code; you are defining the guardrails that determine who gets in and when. The process involves selecting an orchestration layer, mapping specific tools (like lock APIs), and establishing a secure connection between the model and your hardware.
1. Select an orchestration framework
In 2026, the landscape is dominated by two primary approaches: lightweight Python-based frameworks like LangGraph or LlamaIndex for custom logic, and managed platforms like Vellum or Flowise for visual orchestration. For smart agent keys, where security and deterministic behavior are paramount, a code-first approach using LangGraph is often safer. It allows you to explicitly define the state machine of the agent, ensuring it doesn't hallucinate access permissions. If you lack engineering resources, a visual platform with strict guardrails works, but you lose fine-grained control over the decision tree.
Evaluate your team's technical depth. For custom integrations with proprietary lock hardware, Python-based agents offer the most flexibility. For rapid deployment with standard APIs, consider a no-code orchestrator. The goal is to pick a tool that supports deterministic state management, not just generative text.
Initialize a secure development environment. Use virtual environments to isolate dependencies. Install your chosen framework and configure your LLM provider API keys. Ensure your environment variables are stored in a .env file that is strictly excluded from version control to prevent credential leaks.
Tools are the specific functions the agent can call. For smart agent keys, you will need tools like check_access_level, grant_temporary_key, revoke_key, and log_entry. Define these clearly in your framework's tool registry. Each tool must have strict input validation schemas to prevent injection attacks or unauthorized parameter manipulation.

Bind the Large Language Model to your defined tools. This step involves configuring the model's system prompt to instruct it on when to call a tool versus when to respond with text. For example, if a user asks "Can I enter the office?", the agent should not answer "Yes"; it should call the check_access_level tool first. This separation of thought and action is critical for security.

Implement the main execution loop. This is where the agent receives a user request, decides on a tool, executes it, and observes the result. In LangGraph, this is a graph of nodes and edges. Ensure you have a "human-in-the-loop" checkpoint for high-risk actions, such as granting master key access or overriding security settings.

Before connecting to real locks, test your agent with mocked API responses. Simulate successful access, denied access, and expired keys. Verify that the agent handles errors gracefully and does not expose internal system details in its final response to the user. This stage catches logic errors before they impact physical security.

Deploy your agent to a secure server or edge device. Implement rate limiting to prevent API abuse. Set up comprehensive logging for all tool calls and agent decisions. This log is your audit trail for security incidents. Monitor the system closely for the first week to catch any unexpected behavior in real-world conditions.
2. Map tools to lock hardware
The agent needs a universal language to talk to your locks. If you are using a hub like August, Yale, or a custom IoT gateway, you will need to write an adapter layer. This adapter translates the agent's generic tool calls (e.g., "unlock door 101") into the specific JSON payloads required by the hardware manufacturer's API. Document these mappings thoroughly. If you switch lock vendors later, this abstraction layer allows you to swap the hardware without rewriting the agent's core logic.
3. Implement security guardrails
An AI agent is only as secure as its constraints. You must implement a "policy engine" that sits between the LLM and the tools. This engine checks every tool call against a set of rules: Is the user authenticated? Is the time of day within allowed hours? Does the user have the required clearance level? If any check fails, the tool call is blocked before it ever reaches the lock. Never trust the LLM's internal reasoning alone; always enforce external policy checks.
4. Add memory and context
Smart agent keys benefit from short-term memory to handle multi-turn conversations. For example, if a user says "I'm in the lobby, can you let me into the conference room?", the agent needs to remember the user's identity and current location. Use a vector database or a simple session store to maintain this context. However, keep memory ephemeral; do not store sensitive access logs in long-term memory that could be queried by unauthorized users.
Set security permissions and limits
Granular permissions ensure your AI assistant acts only within defined boundaries. Without strict limits, an agent could inadvertently access sensitive client data or perform unauthorized actions. You must configure these controls before deploying any smart agent key.
Start by defining the scope of access. Grant the agent permission to unlock doors only during scheduled showings. This time-bound constraint prevents access outside of approved windows. It also ensures that the agent cannot enter properties when no clients are present.
Next, set expiration dates for each key. A key should automatically deactivate after a showing or after a specific date. This prevents lingering access if a key is lost or compromised. Regularly audit these permissions to remove unused keys and update access levels as needed.
Finally, test your permissions in a sandbox environment. Verify that the agent can perform only the intended tasks. If the agent attempts an action outside its scope, it should fail gracefully. This testing phase is critical to ensuring that your smart agent keys operate securely and reliably.
Test the automation workflow
Before handing over the keys, run the full cycle to confirm the automation behaves exactly as intended. A single misconfigured rule can lock a buyer out or, worse, leave the door open for unauthorized access. Treat this phase as a dry run that validates every link in the chain.
Initiate the workflow by simulating a client request. If your system uses an AI agent to coordinate, send a test message or calendar invite. Verify that the agent recognizes the trigger and begins processing the request without manual intervention.
Watch the physical hardware. When the digital command is sent, the smart lock should receive the unique code or credential within seconds. Physically test the lock to ensure it disengages smoothly and that the temporary code is valid for the agreed-upon window.

Check the backend dashboard. The system must record the entry event with a precise timestamp. Ensure that you and the client receive the expected confirmation notifications. This audit trail is critical for liability and peace of mind.

Simulate a glitch. Revoke the code mid-test or disconnect the internet briefly. Confirm that the system logs the error and that the lock defaults to a secure state. A robust workflow handles hiccups without compromising security.
Run this sequence with a colleague acting as the client. If every step completes without friction, your smart agent keys are ready for production use.
Common setup mistakes to avoid
Even the most robust smart agent key infrastructure can fail if the initial configuration is sloppy. Agents often configure broad access permissions to save time, assuming they will tighten restrictions later. This "trust first" approach leaves your data exposed to unauthorized automation scripts or compromised third-party tools. Always define the principle of least privilege from day one. Grant access only to the specific endpoints and data sets the agent needs to perform its assigned tasks.
Another frequent error is skipping the edge-case testing phase. You might verify that the agent works when a lead comes in during business hours, but fail to check how it handles requests during maintenance windows or with malformed data. Without rigorous testing, these edge cases can trigger infinite loops or send incorrect messages to clients. Treat your setup like a safety-critical system. Simulate failure scenarios, including network drops and invalid API responses, to ensure the agent degrades gracefully rather than crashing or hallucinating.
Finally, do not ignore the lifecycle of the keys themselves. Static keys that never rotate become a liability. If a key is leaked, it remains valid until you manually discover and revoke it. Implement automated rotation schedules and set up alerts for unusual activity patterns. This proactive maintenance ensures that your smart agent infrastructure remains secure and reliable as your real estate operations scale.
No comments yet. Be the first to share your thoughts!