
What smart agent keys enable
Smart agent keys leverage EIP-7702 to allow AI agents to act on behalf of a wallet with restricted permissions, unlike static API keys. Traditional API keys are binary: they either grant full access or none at all. If an API key is compromised, the attacker has unrestricted control over the associated account. Smart agent keys solve this by attaching code-based permissions directly to the blockchain account, allowing for granular, time-bound, and task-specific authorization.
This approach transforms how autonomous systems interact with decentralized infrastructure. Instead of managing complex off-chain secret storage, AI agents can use their own keys to sign transactions that adhere to strict smart contract rules. This means an agent can be authorized to swap tokens on a specific DEX but cannot withdraw funds to an external wallet. The permissions are enforced by the protocol, not just by the application's internal logic.
The shift from static credentials to dynamic, code-enforced keys is fundamental for secure automation. It enables AI agents to perform a variety of tasks, including sending and receiving tokens, calling smart contracts, and even writing and deploying new code, all while maintaining a clear audit trail on-chain. This method reduces the attack surface significantly, as the agent's capabilities are limited to what the smart contract explicitly permits.
By embedding these constraints into the EOA (Externally Owned Account) structure, developers create a more robust security model. The agent operates within a defined boundary, ensuring that even if the agent's logic is manipulated, the financial damage is capped by the pre-set smart contract rules. This is a critical step toward reliable, autonomous economic activity on the blockchain.
Configure permission scopes
To prevent an autonomous AI agent from draining your wallet, you must define exactly what it is allowed to do. This is done by setting up EIP-7702 authorization lists on your smart contract. These scopes act as a strict contract, limiting the agent to only the specific actions required for your customer journey—such as sending specific tokens or calling particular contract functions—while blocking all other activity.
Instead of granting broad access, you build a permission list that the agent uses to sign transactions. This ensures that even if the agent is compromised, the damage is contained within the predefined boundaries. You will configure these scopes by specifying the target contracts and the exact function signatures the agent can execute.

Identify the exact smart contract address that the agent needs to interact with. This is typically the address of your customer engagement contract or token distribution logic. Verify this address on a block explorer to ensure you are authorizing the correct destination. The agent will only be able to call functions on this specific address once authorized.

List the exact function signatures the agent is permitted to call. For example, if the agent needs to send ERC-20 tokens, you might authorize transfer(address,uint256). Avoid using wildcards or broad permissions like *. By specifying the exact function, you prevent the agent from executing unintended operations, such as approving unlimited spending allowances.

Define the maximum transaction value and data payload the agent can handle in a single call. This acts as a circuit breaker. If a customer journey requires a high-value transfer, set the limit accordingly, but keep it as low as possible to minimize risk. This step is critical for preventing accidental large-scale transfers during automated sequences.

Use your wallet interface or a script to generate the EIP-7702 authorization code. This code binds your private key to the agent's capabilities within the smart contract. You will sign this authorization using your secure key management system. Once signed, submit the transaction to the blockchain to activate the permissions.

After the transaction is confirmed, verify that the authorization is active. Check the contract state on a block explorer to ensure the agent's address is listed with the correct permissions. Test the agent with a small, non-critical transaction to confirm it can execute the allowed functions without errors.


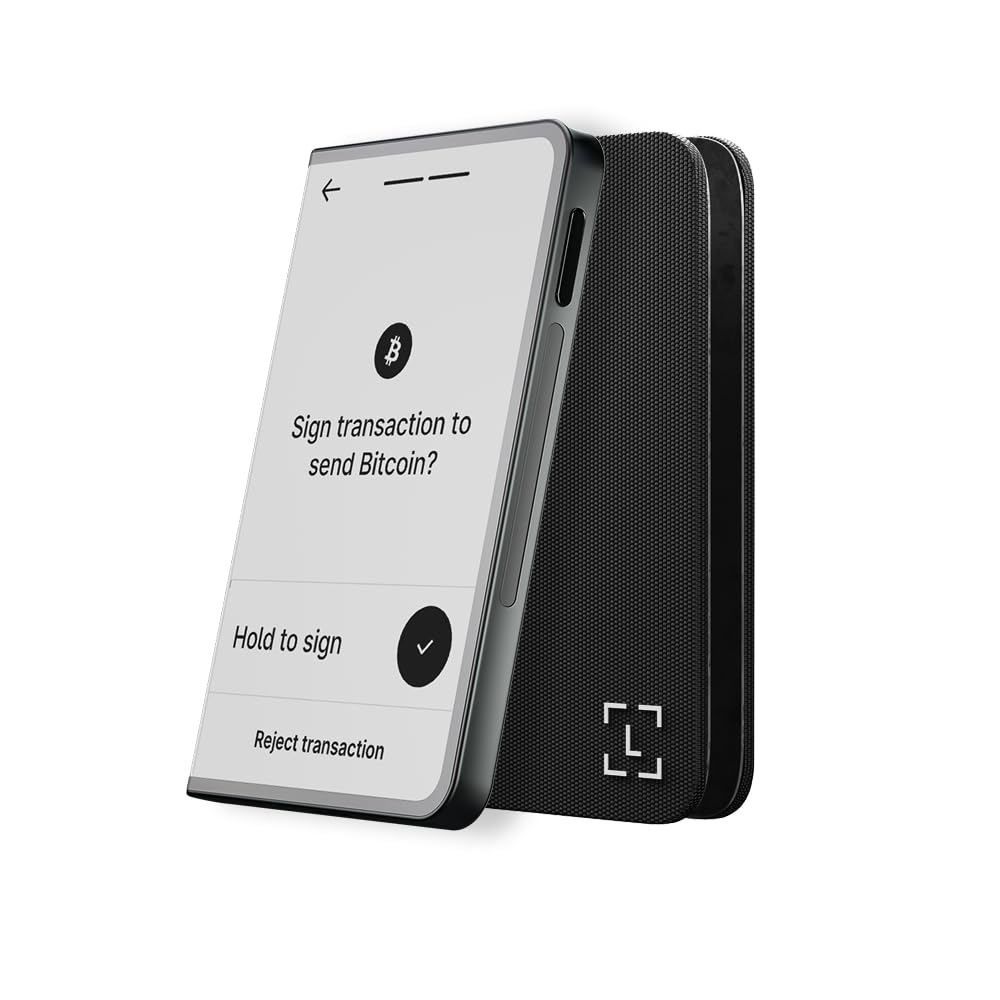
As an Amazon Associate, we may earn from qualifying purchases.
By strictly defining these scopes, you create a secure foundation for your automated customer journeys. The agent can now operate autonomously within these safe boundaries, executing tasks like sending rewards or updating customer records without risking the entire wallet. This approach balances automation with security, ensuring that your AI agents remain useful tools rather than liabilities.
Integrate with AI workflows
Smart Agent Keys for Automated Customer Journeys works best as a sequence, not a scramble through settings. Do the minimum first: confirm compatibility, connect the core hardware, update only when needed, and test the result before adding optional features. That order keeps the task understandable and makes failures easier to isolate. After each step, pause long enough for the interface to finish syncing. Many setup problems are timing problems disguised as configuration problems. If the same step fails twice, record the exact error, restart the smallest affected piece, and retry before moving deeper.


Test and monitor transactions
Before deploying smart agent keys for automated customer journeys, you must verify that the EIP-7702 authorization flow functions without friction. This section outlines the technical steps to validate transaction signing and monitor for anomalies.
Verify the Setup
Begin by simulating a customer journey interaction. Send a small test transaction that triggers the agent’s delegated signature. Check the transaction receipt on a block explorer to ensure the EIP-7702 authorization is correctly recognized and the agent key has the expected permissions.
Monitor for Anomalies
Set up real-time alerts for unusual activity. Monitor for failed signature attempts or unexpected contract calls. If the agent key is compromised, immediate detection allows you to revoke permissions before significant damage occurs.
Pre-Launch Checklist
-
Simulate a test transaction with minimal value
-
Verify EIP-7702 authorization on block explorer
-
Configure alerts for failed signature attempts
-
Test permission revocation workflow
No comments yet. Be the first to share your thoughts!